In this sample we want to make our keycloak instance running on localhost available via https via a ngrok https proxy setup
- Local Keycloak URL: http://localhost:8280/auth/
Step 1: Get ngrok Token
Connect your agent to your ngrok account using following URL
Now that the ngrok agent is installed, let’s connect it to your ngrok Account. If you haven’t already, sign up (or log in) to the ngrok Dashboard and get your Authtoken. The ngrok agent uses the authtoken (sometimes called tunnel credential) to log into your account when you start a tunnel.
Copy the value and run this command to add the authtoken in your terminal.
# ngrok config add-authtoken 2DThrErQiVCq7...Step 2: Start ngrok using our keycloak port 8280
Start ngrok by running the following command.
# ngrok http 8280
ngrok                                                                                                                                                                                          (Ctrl+C to quit)                                                                                                                                                                                                               Hello World! https://ngrok.com/next-generation                                                                                                                                                                                                                                                                                                                                                                                Session Status                online                                                                                                                                                                           Account                       helmut.hutzler@gmail.com (Plan: Free)                                                                                                                                            Version                       3.0.6                                                                                                                                                                            Region                        Europe (eu)                                                                                                                                                                      Latency                       20ms                                                                                                                                                                             Web Interface                 http://127.0.0.1:4040                                                                                                                                                            Forwarding                    https://0c26-2003-cf-bf16-9c00-917c-153a-e091-f935.eu.ngrok.io -> http://localhost:8280                                                                                                                                                                                                                                                                                                         Connections                   ttl     opn     rt1     rt5     p50     p90                                                                                                                                                                    0       0       0.00    0.00    0.00    0.00
Step 3: Open Browser and test global keycloak URL
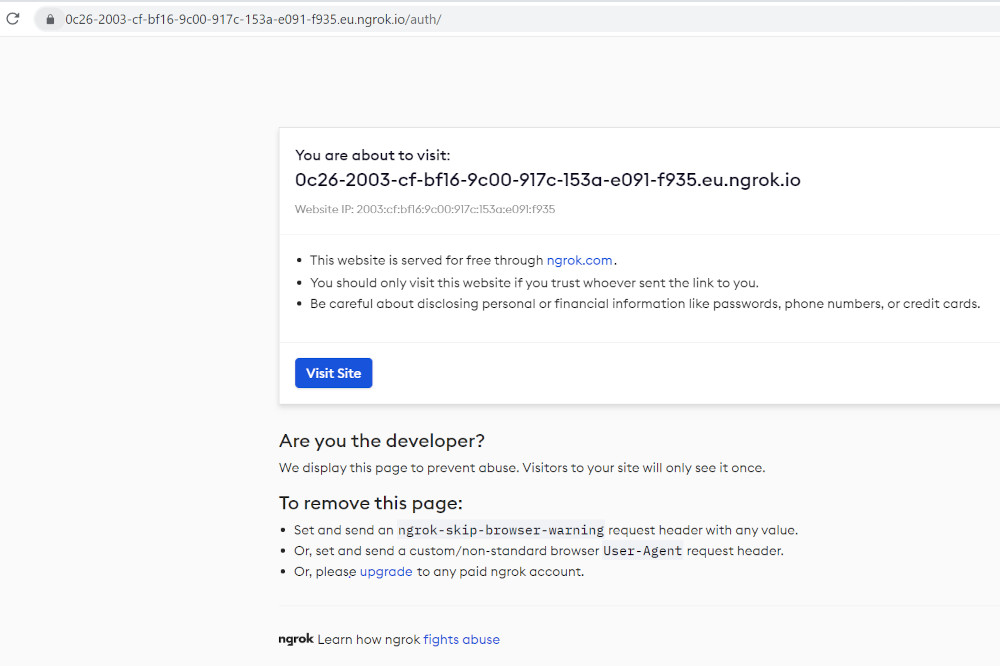
Press View Site

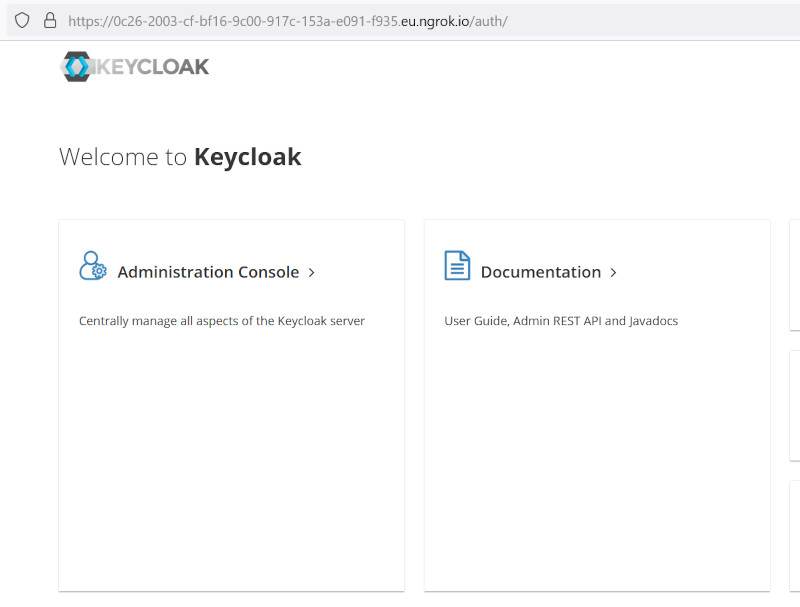
Keycloak Page should be shown in your browser

Be First to Comment